
Have you ever wondered how bakers achieve that incredibly rich, nutty flavor in cookies, cakes, and frostings? The secret ingredient is brown butter. This golden, aromatic butter transforms ordinary baked goods into gourmet treats. In this step-by-step guide, you’ll learn exactly how to make perfect brown butter every single time!
What is Brown Butter?
Brown butter, also known as beurre noisette, is butter that has been gently cooked until its milk solids toast to a delightful golden brown. This process releases a deep, nutty aroma and enhances the taste of any recipe.
Why Use Brown Butter in Baking?
Using brown butter elevates your baked goods by adding:
- Nutty, caramel-like flavor
- Rich aroma
- Increased depth and complexity
Whether you’re baking cookies, cakes, muffins, or frostings, this easy technique will make your desserts unforgettable.
Step-by-Step Guide to Making Brown Butter
Ingredients & Tools:
- Unsalted butter
- A saucepan or skillet (preferably stainless steel or light-colored, so you can see color changes)
- Heat-resistant spatula or whisk
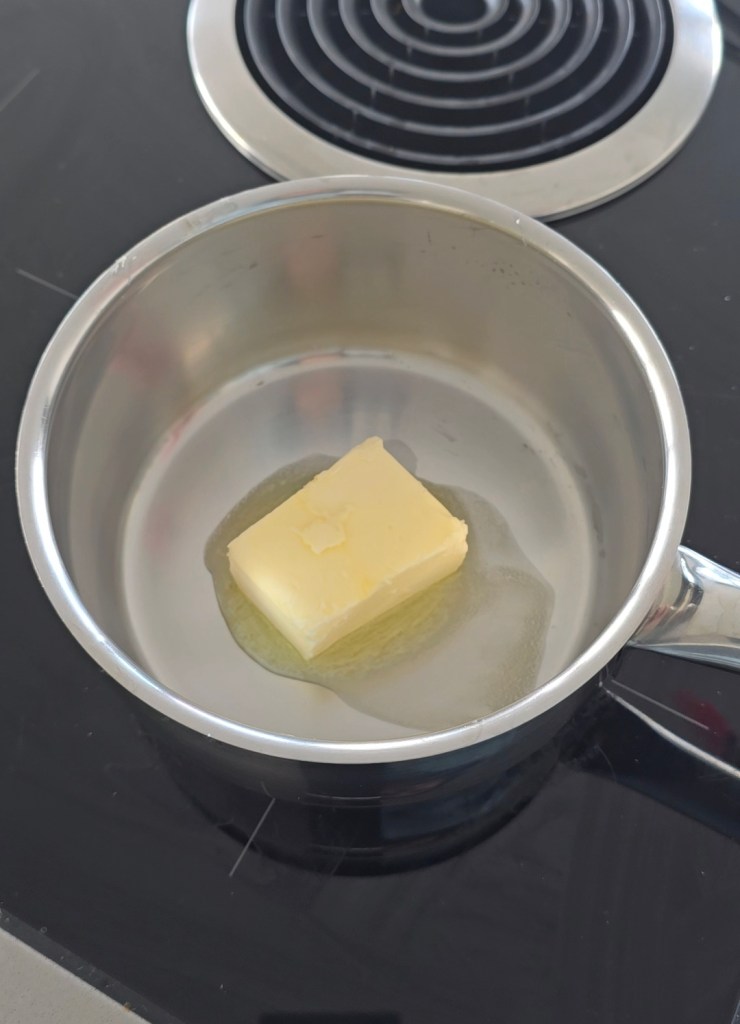
Step 1: Melt the Butter
Place unsalted butter in a saucepan or skillet over medium heat. Stir occasionally, ensuring it melts evenly.
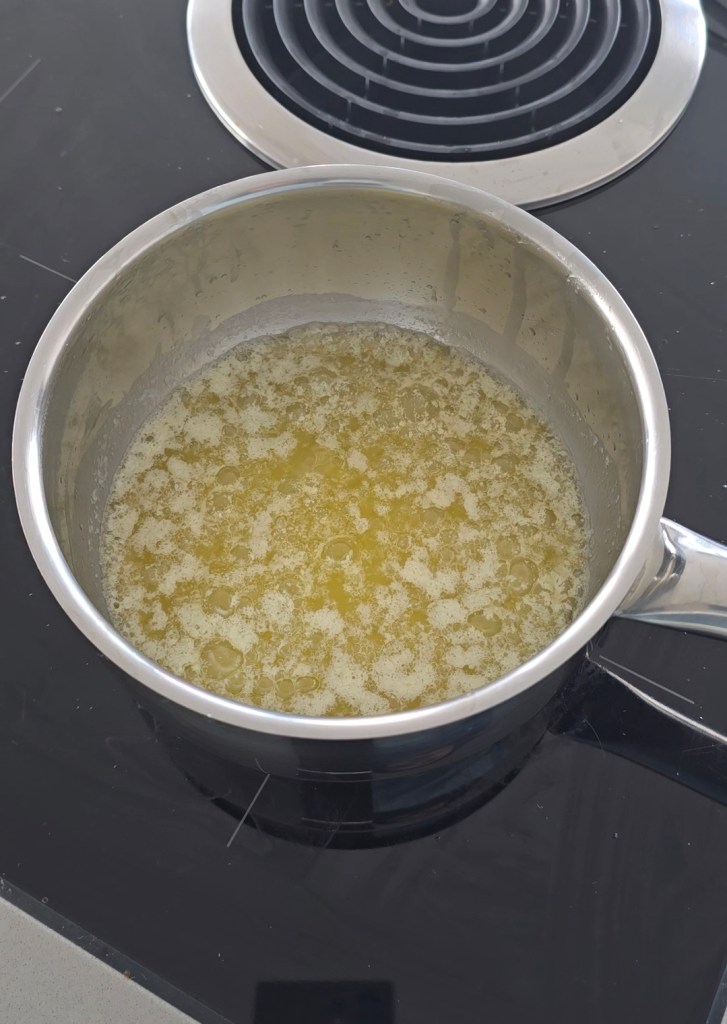
Step 2: Bubbling and Foaming
Once melted, the butter will start bubbling and foaming. At this stage, water is evaporating. Continue stirring gently to avoid uneven cooking.
Step 3: Milk Solids Separating
As the foam subsides slightly, you’ll see milk solids sinking to the bottom of the pan. Keep stirring to prevent them from sticking and burning.
Step 4: Browning Stage
The milk solids will begin turning golden-brown. You’ll smell a nutty, caramelized aroma—this means you’re almost there! Continue cooking carefully, watching closely, because butter can quickly shift from perfect brown butter to burnt.

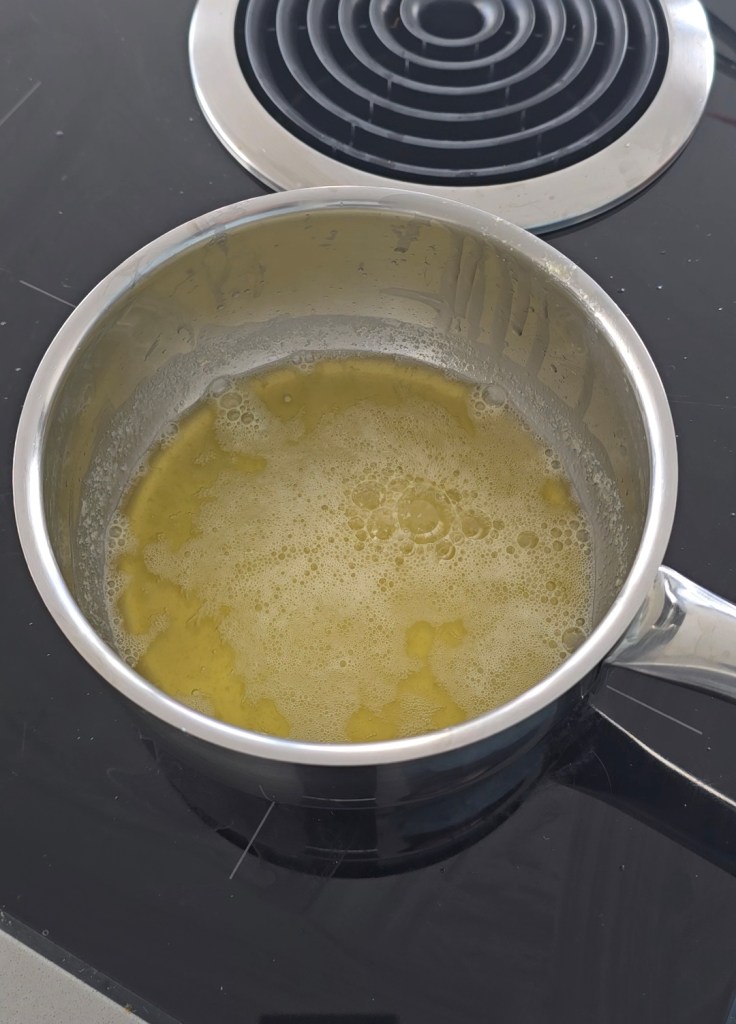
Step 5: Perfectly Browned Butter
Remove the pan from heat once the butter turns a rich golden-amber color and smells distinctly nutty. Immediately transfer the brown butter to a heatproof bowl to stop the cooking process and prevent burning.

What to Look Out For
- Color Change: Aim for amber-colored butter, not dark brown or black.
- Aroma: Nutty, caramel scent indicates it’s ready.
- Milk Solids: Watch closely, as they can burn quickly. Keep stirring!

Storing Brown Butter
Let the brown butter cool at room temperature before refrigerating. Store it in an airtight container for up to two weeks, or freeze for longer storage.
Delicious Recipes Using Brown Butter
Try incorporating your fresh batch of brown butter into:
Final Thoughts
Mastering brown butter will completely transform your baking. Follow these simple steps and enjoy deliciously enhanced baked goods!
Happy baking!

Leave a comment